


How to Plan for a Plated Dinner at your Wedding Reception
I feel like plated dinners were viewed as a a fancy extra before this COVID-19 thing. I mean most couples these days do opt for a buffet or at least carving stations (in my area), but we are about to see a serious shift in this area.
Due to sanitation concerns, plated dinners are going to be on the rise in the wedding industry.
So, if you are having to plan for a plated dinner, you might be asking, “how in the world does this work?” And while there are some extra logistics involved with planning, it is totally doable!
We have compiled our biggest tips to planning a seamless Plated Dinner at your Wedding Reception below. Let’s dive it!
7 Steps to Plan a Plated Dinner
Step #1: Consult with your Caterer
The first thing you’ll want to do is chat with your caterer (if you already have one booked) to see if they offer a plated dinner option. If your caterer does not offer a plated dinner option, you’ll want to talk with them about how they will be making your buffet or carving stations COVID-19 safe (masked/gloved attendants to serve).
If your caterer does offer a plated meal option, you’ll want to know all of their guidelines and protocols.
Next you’ll want to ask them what kinds of plated dinner options they offer. Do they serve American Style? French Style? Or Family Style? For more on these serving styles, click here:
http://thegreatgastro.com/en/dining-story-culinary-service-styles-ep-1-2/
http://thegreatgastro.com/en/dining-story-culinary-service-styles-ep-2-2/
The second most important thing you’ll want to know on the front end is how your caterer prefers that your guests choose their meal options. Usually, caterers will have the following options:
- Everyone is served the same entree.
- Guests will order their entree from a menu upon seating.
- Guests pre-select their entree choices on their RSVP cards.
Here are some other key questions you’ll want to ask your caterer:
- What meal options can we choose from?
- Is there a set wedding menu or are there other packages to choose from?
- How many courses are offered?
- Is there a minimum number of plates to be ordered?
- How many servers typically staff a wedding night? *1 server per 8 person table is a good rule of thumb*
- What type of kitchen space will you need to prepare for the plated dinner?
- Have you done a plated dinner at our venue before?
- How do you handle food allergies and dietary restrictions?
- Are the vendor meals the same as the guests? Where are they served?
- Do you offer children’s meals?
- When do we need to have all meal selections/allergies/dietary restrictions and seating chart submitted to you?
- You will want to ask about other fun things too, like table setting design, pre-setting water, salads, or bread and butter, and napkin folds!
Step #2: Decide on Dessert!
Now this is something that you’ll also want to consult with your caterer about, but it’s a good idea to think ahead about how you want dessert to look.
Do you want everyone to be served wedding cake table side after you two do your traditional cake cutting? Or do you want guests to be served some other type of dessert table side? What about coffee? Do you want that served with dessert as well?
You’ll also need to ask your caterer if they even offer wedding cake options, and if they don’t, do they charge a fee for cutting and serving your wedding cake if it did not come from them?
There are a few different options here, but it’s definitely something you’ll want to pre-plan.
Step #3: Order your Invitations & RSVP cards
Once you’ve consulted with your caterer, chosen your meal options, and decided how your guests will be choosing their meal option, now it’s time to communicate with your guests.
As a guideline, you’ll always want to aim to send our your invitations at least 3 months before your wedding, but this is even more important when serving a plated dinner. It is also important to give your guests an RSVP deadline that corresponds with the time when your caterer needs all of your final numbers, meal choices, allergies, and dietary restrictions. And you’ll want to schedule in cushion time.
So if your caterer says they need all final selections 2 weeks out from the wedding, you’ll want to give your guests an RSVP deadline of 3-4 weeks before the wedding. You WILL have a few people you’ll have to track down to get their RSVP and meal selection, so give yourself some time.
Now, the way you word your invitations/RSVP cards/ Meal Selection Inserts is dependent upon how your caterer prefers your guests choose their meal options. See below for some tips for each option.
- Everyone is served the same entree. – You will only need to provide a space on the RSVP for food allergies and dietary restrictions.
- Guests will order their entree from a menu upon seating. – You will only need to provide a space on the RSVP for food allergies and dietary restrictions.
- Guests pre-select their entree choices on their RSVP cards. – You will need to include a space on the RSVP card that lists the menu options, a space for the guest(s) to submit their choices, and a space for food allergies/dietary restrictions. *If your caterer offers children’s plates, you’ll want to make note of that here as well*
Step #4: Keeping Track of Meal Selections & Allergies/Dietary Restrictions
Once your invitations have been sent out, you’ll want to come up with a tracking system.
If you’ve set up your RSVP tracking through an online tool like The Knot, Wedding Wire, or Minted, you’ll be able to automatically track and keep track of your meal selections/allergies/dietary restrictions here. If you are using paper and mail RSVP cards, you’ll want to create a very detailed and organized Excel Spreadsheet to keep track of selections. You’ll also want to keep your RSVP cards in a collective spot so you can reference and recheck the selections you’ve documented on your spreadsheet before you submit it to your caterer. Don’t throw them away as they come in!
Step #5: Creating your Seating Chart
Now that your RSVP’s are coming in and you know exactly who will be attending, you can start your seating chart.
There are a few different ways you can do this according to how your guests chose their meals options. I’ve included some tips for each below:
- Everyone is served the same entree. – For this option, you don’t necessarily need to assign each person to a specific seat (unless you want to), you can just create a seating display with the guests assigned to a specific table. If you choose to go with this option, just make sure you know what table guests with allergies/dietary restrictions are sitting. We’ll talk about how to communicate this with the catering staff in a bit.
- Guests will order their entree from a menu upon seating. – Same deal as above!
- Guests pre-select their entree choices on their RSVP cards. – We have two options here:
- Table assignments, but no seat assignments:
- You’ll start by grouping each table by category and list who all might be included in that category (ex. “Groom’s Aunts & Uncles”, or “College Friends”). Then you’ll break each category down by the number of chairs at each table (ask your venue or your planner how many guests will fit at each table).
- Once you have your table groupings, you’ll create a Seating Display to state each Table Number and guests designated to sit at that table.
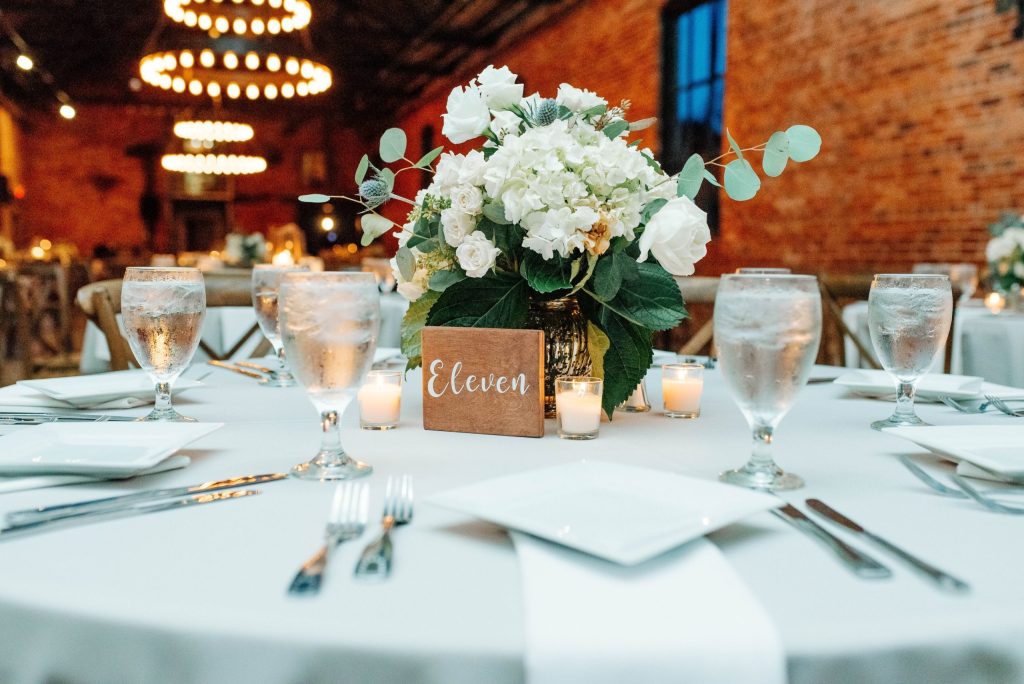
- Next, you’ll create your Place Cards. Include the guest’s name, Table Number, Meal Selection, and allergies/dietary restrictions)
- Then, you’ll have your guests pick up a Place Card (upon entering the reception) that states their name, table number, menu selection, allergies, and dietary restrictions.
- Table AND seat assignments
- Start again by grouping each table by category and deciding who will be in each category.
- Then, you’ll assign each seat at individual tables. Try to place people next to family, friends, or other guests you think they might have a nice conversation with! **make sure you are noting meal selections and allergies/dietary restrictions as you go**
- Place cards will then be pre-set at each seat with names, menu selections, and allergies/dietary restrictions.
- You’ll also want to have a Seating Display that lets guests know which table they belong to so they are not lost and having to search each table for their place card.
- Table assignments, but no seat assignments:
Step #6: Submitting Seating Chart and Menu Selections to your Caterer
Now that you know who is coming, what they are eating, and where they are sitting, it is time to submit your seating arrangements and meal selections to your caterer. Again, the way you submit this info to your caterer will depend on how your guests chose their menu selections and how you have the seating arranged. See my tips for each option below:
- Everyone is served the same entree // Table groupings, no seat assignments:
- Simply submit a spreadsheet of your table grouping to your caterer.
- Make sure to note any children’s meals, allergies, or dietary restrictions at each table. You’ll also want to create/purchase a special place card for these special meals. You can set them at the tables beforehand, so the guests and serving staff know without question.
- Guests will order their entree from a menu upon seating. // Table groupings, no seat assignments:
- Same process as above!
- Guests pre-select their entree choices on their RSVP cards.
- Table assignments, but no seat assignments:
- Same process as above, but include a count of how many meal selections are at each table. (Ex. Table 1 = 3 chicken, 4 fish, 1 vegetarian)
- Menu selections and allergies/dietary restrictions will be stated on the place cards the guests will pick up and place at their seat, so the serving staff will just need to know how many selections go at each table.
- Table and seat assignments:
- Exactly the same as above! Unless you want to get fancy and include which seat goes with which menu choice.
- Table assignments, but no seat assignments:
Step #7: Dealing with last minute changes:
Last minute changes with your head count are inevitable. You’re always going to have 1 0r 3 guests decide they can’t make it or have something emergent come up, but no need to fret! All you need to do is chat with your caterer and planner to come up with the best plan of action for last minute changes.
I would first ask your caterer how they usually deal with no-show or unexpected guests. Then, I would make sure your coordinator or planner is fully aware of this and knows that she/he will be responsible for communicating any wedding-day changes to the guest count/meal count. And remember, if you don’t have a coordinator or planner, it will be your responsibility, while you should only be sipping mimosas and getting your hair done!
And voila!
And that’s it! You’ve planned a plated dinner! I know it can be an intimidating part of wedding planning, but in today’s COVID-19 Climate, plated dinners are going to be the most sanitary option, so it will be worth the extra effort and cost!
As always, if you have any questions or need help planning your plated dinner, please reach out and let me know!
Happy Wedding Planning!
Xoxo,
Sammy
Interested in having the Jackson & June Events team plan, coordinate, or design your wedding? Find out more info here!


add a comment
+ COMMENTS